Maintaining a clean and well-functioning pool cartridge filter is essential for crystal-clear water and optimal pool performance. Regular cleaning helps remove debris and contaminants, ensuring that your filter operates efficiently. In this simple guide, we’ll walk you through the step-by-step process of cleaning your pool cartridge filter, so you can enjoy a sparkling pool all summer long.
Step 1: Gather Your Supplies Before getting started, gather the necessary supplies:
- Garden hose
- Bucket
- Pool filter cleaner solution
- Soft brush or sponge
- Replacement O-rings (if needed)
- Filter lubricant (if needed)
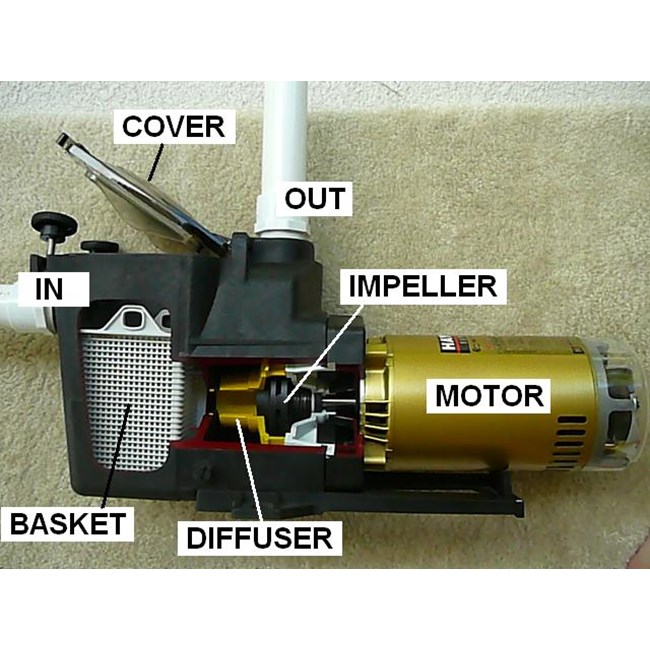
Step 2: Turn Off the Pool Pump Ensure that the pool pump is turned off to prevent any accidents or damage during the cleaning process.
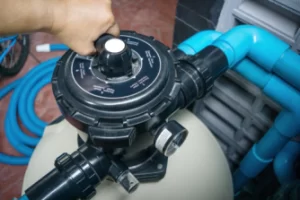
Step 3: Remove the Cartridge Filter Locate the cartridge filter assembly, usually situated near the pool pump. Follow the manufacturer’s instructions to safely remove the cartridge.
Step 4: Rinse Off Loose Debris Take the cartridge filter to an open area and use a garden hose to rinse off loose debris. Begin with a gentle spray, gradually increasing the water pressure to remove any stubborn dirt or debris.
Step 5: Prepare the Cleaning Solution In a bucket, mix the recommended amount of pool filter cleaner solution with water. Refer to the instructions on the cleaner’s packaging for the appropriate ratio.
Step 6: Soak the Cartridge Submerge the cartridge in the cleaning solution, ensuring it is fully immersed. Allow it to soak for the recommended duration, typically a few hours or overnight.
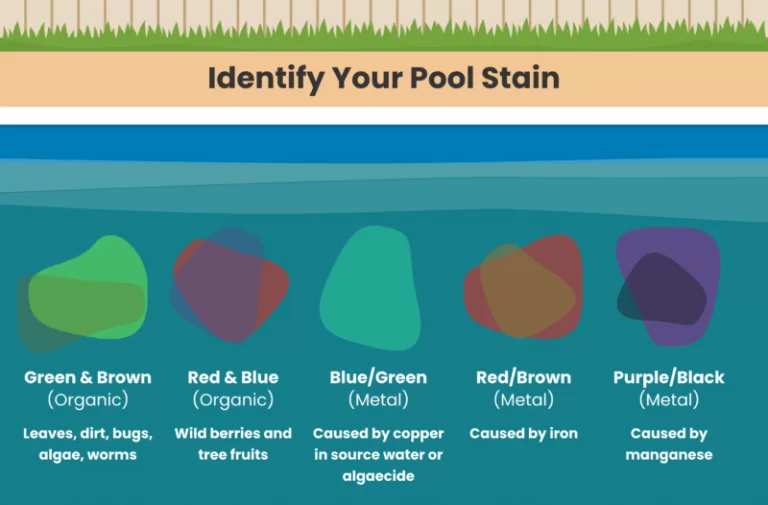
Step 7: Scrub Away Stubborn Stains Using a soft brush or sponge, gently scrub the cartridge to remove any remaining dirt or stains. Pay close attention to the pleats and crevices, as they tend to accumulate debris.
Step 8: Rinse Thoroughly After the soaking period, remove the cartridge from the cleaning solution and thoroughly rinse it with a garden hose. Ensure that all traces of the cleaner and debris are washed away.
Step 9: Inspect and Replace O-rings While the cartridge is drying, inspect the O-rings for any signs of wear or damage. If needed, replace them with new ones. Apply a small amount of filter lubricant to the O-rings to ensure a proper seal.
Step 10: Reinstall the Cartridge Filter Once the cartridge is completely dry, carefully place it back into the filter housing, following the manufacturer’s instructions. Ensure a secure fit to prevent any leaks.
Step 11: Restart the Pool Pump. Turn the pool pump back on and check for proper water flow. Monitor the filter for any leaks or irregularities during operation.
Conclusion:
Cleaning your pool cartridge filter is an essential part of pool maintenance that will keep your pool water clean, clear, and inviting. By following these simple steps and dedicating some time to regular filter cleaning, you’ll ensure optimal filtration performance and prolong the life of your cartridge. Enjoy a refreshing and sparkling pool all season long!


